iPhone HDR Bracketing: Shoot Real Brackets Beyond Smart HDR (2026)
iPhone’s built-in HDR is computational photography from a single capture, not true exposure bracketing. To make a real HDR from an iPhone, shoot three or more DNG frames at different exposures with a third-party camera app, transfer them to a computer, and merge them in Luminance HDR. The result keeps genuine highlight and shadow detail instead of a guessed reconstruction.
Built-In iPhone HDR vs. True Bracketing
Apple’s Smart HDR and Photonic Engine take one shot (or blend several instantly) and tone-map it on the device. It looks good on a phone screen, but the “recovered” highlights and shadows are computed, not captured. True bracketing records genuinely different exposures — typically −2, 0, and +2 EV — so no detail has to be invented.
| Aspect | iPhone Built-In HDR | Manual Bracketed HDR |
|---|---|---|
| Detail source | Computed from one capture | Genuinely captured at multiple exposures |
| Highlight recovery | Guessed by the algorithm | Real data from the dark frame |
| Control | Automatic only | You choose EV range and frame count |
| Output | HEIC/JPEG on device | DNG frames merged on desktop |
| Best for | Quick shares | Prints, editing headroom, critical scenes |
How to Shoot Real Brackets on an iPhone
1. Use a third-party camera app
The native Camera app has no exposure bracketing mode. Use a third-party camera app that supports manual exposure control and DNG (RAW) capture — several popular options offer burst or bracketed sequences. Shoot three frames at roughly −2, 0, and +2 EV. (App features change over time; check the app’s current description before buying.)
2. Keep the phone perfectly still
Bracketed frames must align. Use a small tripod or prop the phone against a solid surface, and use a self-timer or remote shutter so your tap doesn’t shift the frame. See our exposure bracketing guide for the general principles.
3. Transfer the DNG files to a computer
Use AirDrop, Files, or a cable to move the DNG frames to your Mac or PC. RAW frames are large — three DNGs can easily exceed 75 MB — so make sure you have storage and a decent transfer method.
4. Merge in Luminance HDR
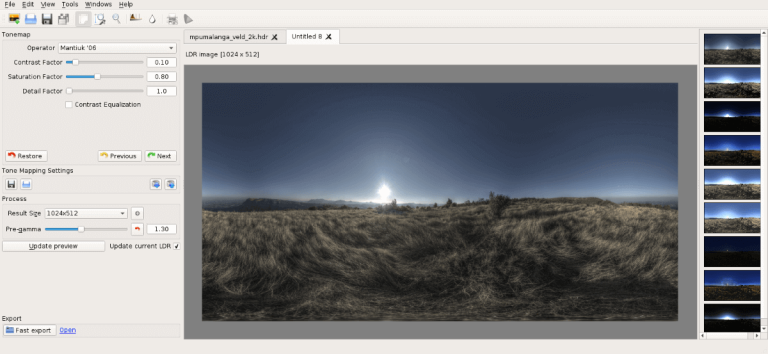
Open the frames in Luminance HDR, enable alignment (essential for handheld shots), turn on ghost removal if anything moved, and merge. Then tone-map conservatively and export. The full walkthrough is in how to use Luminance HDR.
Things to Watch Out For
- Movement between frames: even a small shift makes alignment work harder; a tripod is the single biggest quality upgrade.
- Storage: DNG bursts eat space fast — offload frames regularly.
- Don’t over-bracket: for most phone scenes three frames are enough; more frames mainly help extreme contrast. If you only have one usable frame, read single-RAW HDR for the honest limits of that route.
FAQ
Does iPhone have exposure bracketing?
No — the native Camera app does not offer an exposure bracketing mode. Apple’s HDR is computational and automatic. True bracketing requires a third-party camera app with manual exposure and DNG support.
Is iPhone Smart HDR as good as bracketed HDR?
For casual viewing on a phone screen, Smart HDR is excellent. For prints, heavy editing, or scenes with extreme contrast, genuinely bracketed frames hold real detail where Smart HDR is guessing — the difference shows up when you push the file.
Which exposure steps should I use?
A common starting point is three frames at −2, 0, and +2 EV. For very high-contrast scenes (sunsets, interiors with windows), five frames at ±2 EV give more headroom.
Can I merge the brackets on the iPhone itself?
There are mobile apps that merge brackets, but desktop software like Luminance HDR gives you real alignment, ghost removal, and a choice of tone-mapping operators — worth the extra step for important shots.
What about Android?
Android users have a free path: shoot DNG brackets with Open Camera and merge them the same way on desktop.
Luminance HDR is free and open source (GPLv2).